Getting Started with TraptureIQ
This guide walks you through your first experience with TraptureIQ — from opening the app for the first time to having your first conversation with an AI agent. No prior experience with the platform is required.
What You'll Accomplish
By the end of this guide, you will have:
- Signed in to TraptureIQ
- Created your own workspace (Tenant)
- Understood the key concepts behind the platform
- Learned how to navigate the sidebar and find every feature
- Be ready to register your first AI agent and start chatting
3-Step Onboarding Flow
Step 1: Register or Sign In
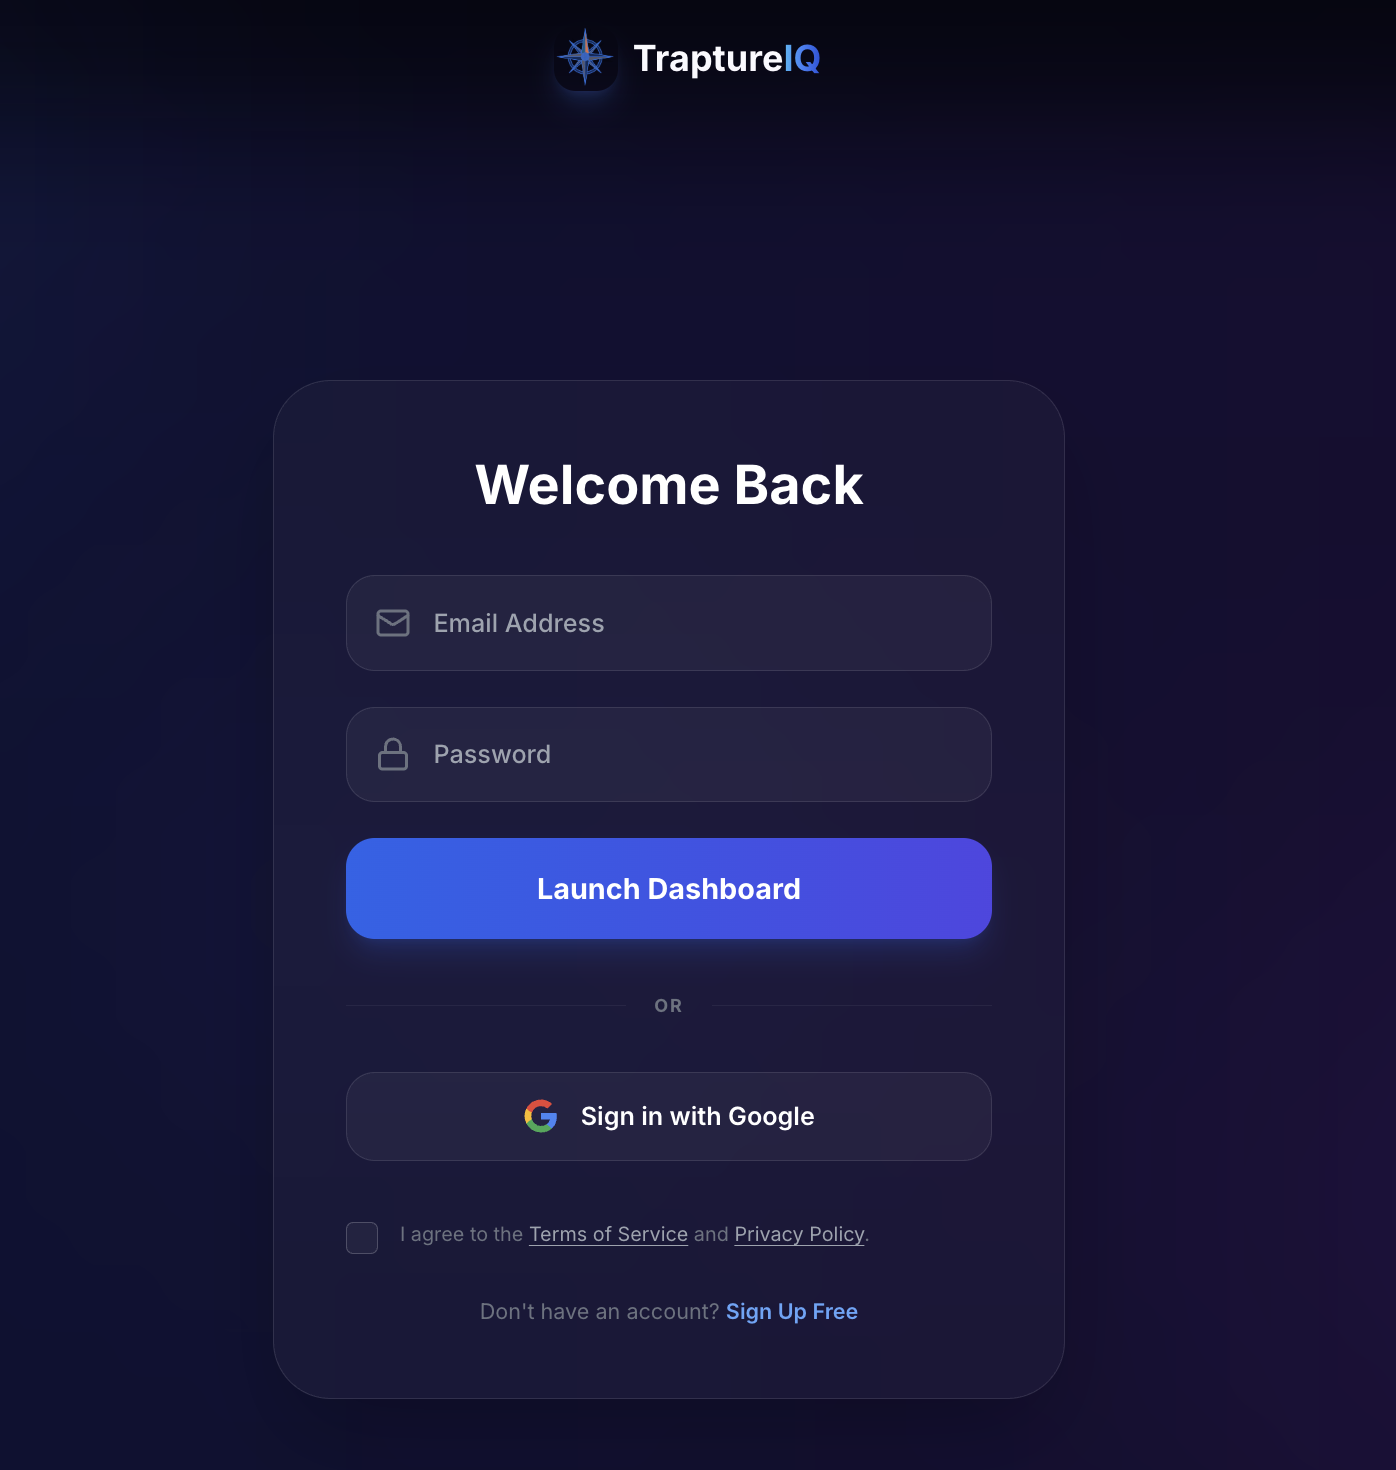
- Open your browser and visit https://traptureiq.com.
- You'll see the TraptureIQ landing page with sign-in options.
- Click Sign in with Google to use your Google account, or sign in with your enterprise email.
What you'll see: A clean login page with Google SSO and email authentication options. TraptureIQ uses secure single sign-on (SSO) — your credentials are handled by your identity provider.
If you were invited by someone: Check your email for an invitation link. Click the link, sign in with Google, and you'll be automatically added to your team's workspace. Skip to Step 3.
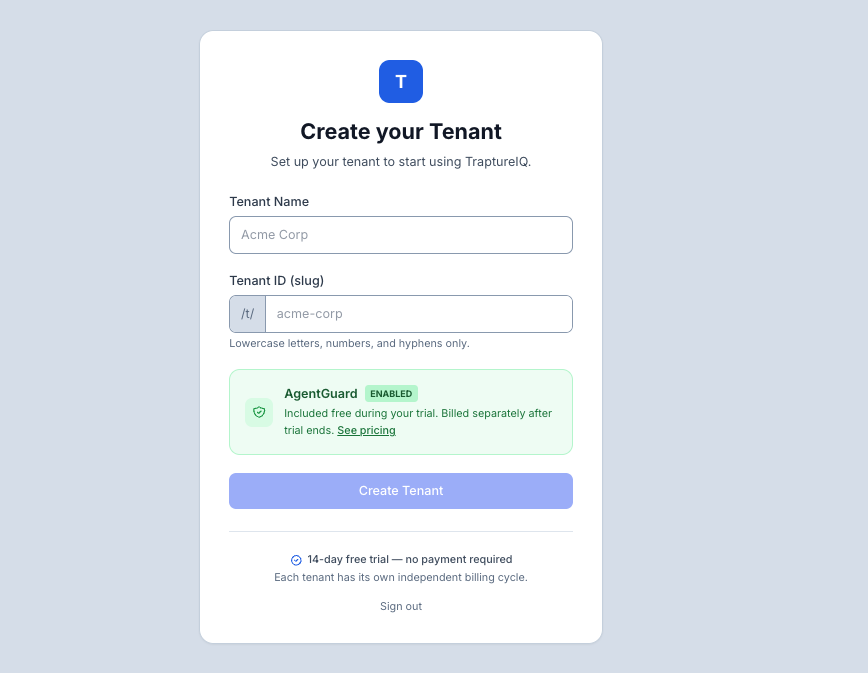
Step 2: Create Your Tenant (Workspace)
If you're a new user without an existing invitation, the platform will automatically guide you to create your first Tenant.
- Workspace Name: Enter a recognizable name for your workspace (e.g., "Engineering Team", "Acme Corp", "My AI Lab").
- URL Slug: Choose a unique slug (e.g.,
acme-corp). This becomes part of your workspace URL and API endpoints. It cannot be changed later, so choose carefully. - Click Create Tenant.
What happens behind the scenes: Your workspace is completely private — no data is ever shared between workspaces.
Expected result: You'll be redirected to the Agent Management dashboard — your workspace is ready.
Why this matters: The Tenant is your private, secure workspace. Everything you do in TraptureIQ happens within a Tenant. If you have multiple teams or projects, you can create separate Tenants for each.
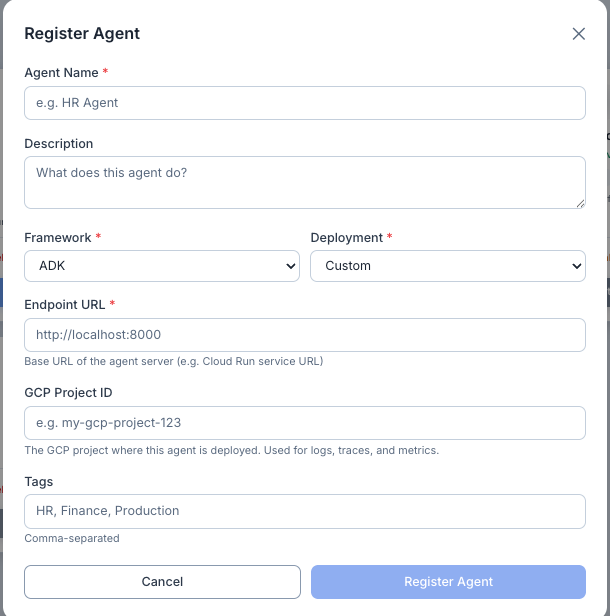
Step 3: Register Your First Agent
Now that your workspace is ready, you can connect your first AI agent.
- Click + Register Agent on the Agent Management dashboard.
- Fill in your agent's details (name, framework, endpoint URL).
- Test the connection to verify everything works.
- Save — your agent is now live and ready for conversation.
Expected result: Your agent appears in the Agents list with a "Live" status indicator. You can immediately click Chat with Agent to start a conversation.
For detailed registration instructions, see the Registering an Agent guide.
What's Next?
Now that you're set up, explore these guides in order:
| Step | Guide | What You'll Learn |
|---|---|---|
| 1 | Key Concepts | Understand Tenants, Agents, Roles, Frameworks, and Authentication |
| 2 | First-Time Sign In | Detailed sign-in flow for invited users vs. new accounts |
| 3 | Navigating the Platform | Learn every sidebar item, what it does, and who can see it |
| 4 | Next Steps | Recommended actions after your initial setup |
| 5 | Register an Agent | Step-by-step agent registration with all framework options |
| 6 | Explore Platform Modules | Deep-dive into Chat, Traces, Logs, Eval, Analytics, and more |